Candling quail eggs. When to do it and how to interpret what you see.
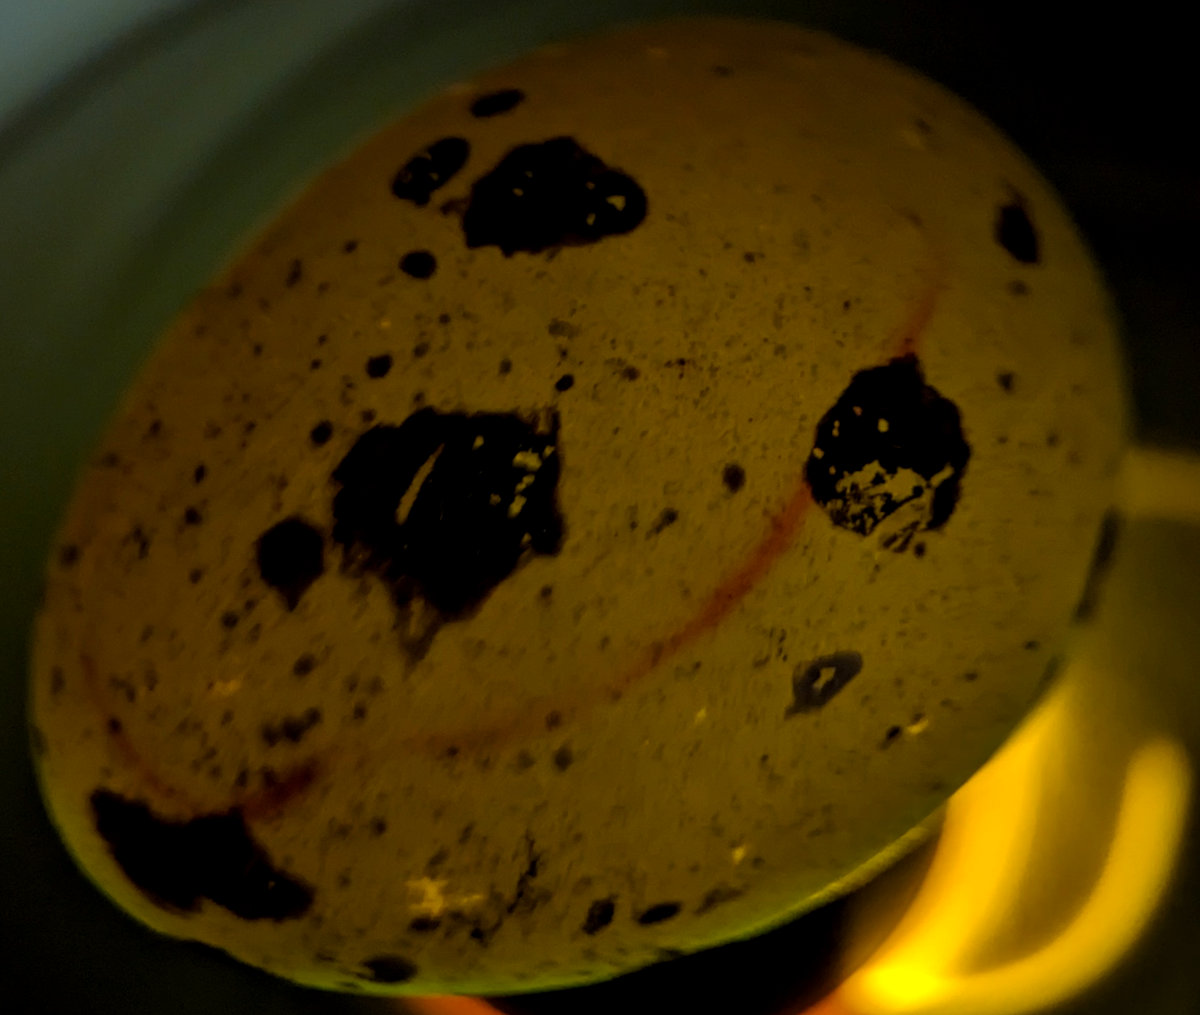
I have found quail eggs to be quite difficult to candle, they are small, difficult grip and have thin shells that beak easily. They are also often deeply coloured with dark patches on the shells that block even the brightest candling lamps.
Table of Contents
Candling is the process of shining a bright light through an egg to see what is inside. It is a common practice among poultry keepers and hobbyists to candle eggs to determine if they are fertile, to check for development, and to remove any infertile or dead eggs from the incubator.
When to candle quail eggs:
Candling will enable you to tell if your quail eggs are fertile, infertile or quit during incubation.
Quail eggs can be candled:
- Before setting in the incubator,
- At day 7 to check for infertile or early dead in shell,
- Again at day 14 to check for normal development.
Quail eggs that you intend to incubate should be candled as part of the selection procedure to make sure they are not cracked or have damaged air cells which might prevent them from hatching.
Below: Candling quail eggs before incubating will show up hairline cracks and detached air cells.
Quail eggs can be candled as early as day 5 of incubation, but the best time to candle is on day 7. By this time the embryo is large enough to be seen clearly, and you can determine if it is developing normally.
You can also candle quail eggs on day 14, just before hatching. This will allow you to see if the chick is positioned correctly for hatching, and if there are any other problems.
How to candle quail eggs:
You will need a dark room or a large cardboard box to provide a dark area to work in as well a flashlight with a bright beam.
Below: Demonstrating the procedure for candling quail eggs.
You can use the torch on a mobile phone or a purpose made candling lamp.
A pair of gloves might help you grip the tiny quail eggs more easily.
Procedure for candling quail eggs:
- Gather your materials and find a dark or dimly lit area. The darker the better.
- Place the eggs in a container that will allow you to hold them securely.
- Put on your gloves if you are using them.
- Hold the flashlight up to the egg, with the beam pointing through the larger end of the egg.
- Move the egg gently around to look for the blood vessels and embryo.
- Handle the eggs carefully and return to the incubator as soon as possible.
What to look for when candling quail eggs:
It can be difficult to see clearly because of the characteristics of quail eggs.
Use a bright flashlight with a narrow beam. This will help you to see the details inside the egg more clearly.
Hold the flashlight close to the egg, but not so close that you touch the shell. This will prevent the heat from the flashlight from damaging the embryo.
Be gentle when handling the eggs. Even though the shells are thin and they can still be easily cracked.
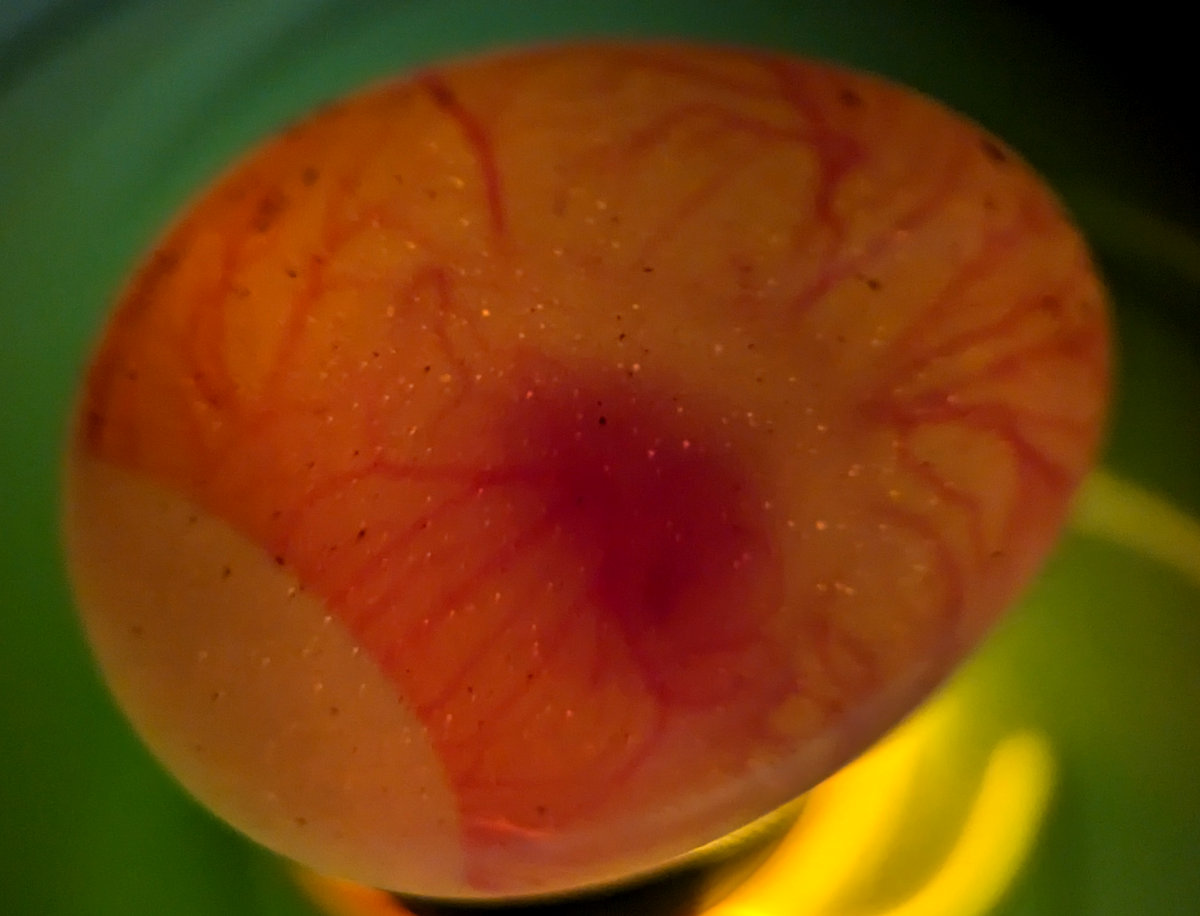
Below: The network of blood vessels in a developing quail egg.

Here is a list of things to look out for when candling quail eggs:
- A dark spot in the centre of the egg, which is the embryo.
- A small air sac at the larger end of the egg.
- Veins and blood vessels, which will become more visible as the embryo develops.
- A clear or opaque egg, which indicates that the egg is not fertile.
- A blood ring which signifies an early dead in shell.
Fertile eggs that are developing normally should be returned to the incubator and Infertile, dead, or abnormal eggs should be removed from the incubator.
Interpreting what you see while candling quail eggs.
Below: This is a clear infertile quail egg.
Below: This is a blood ring indicating that the egg was fertile but died in the very early stages of incubation. The ring can be in any orientation inside the egg.
Below: This is a normal quail egg at day 8 with healthy development.

Below: This is a quail egg with a detached air cell. You can see the air bubble moving as the egg turns.